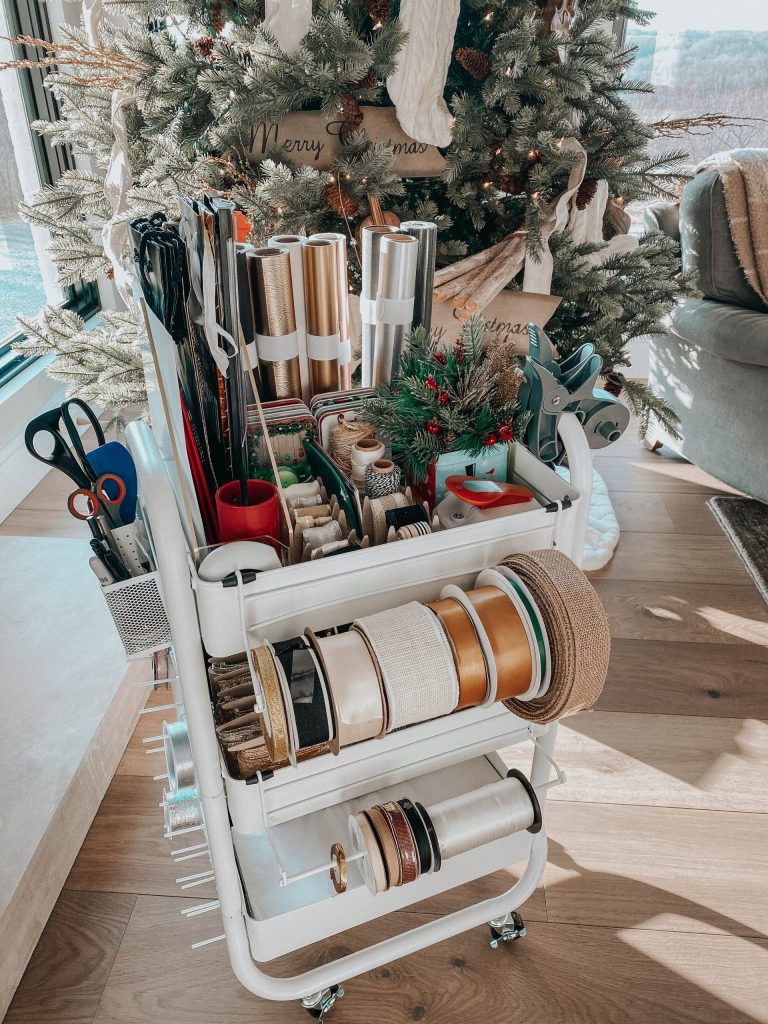
Save time, your budget, bring peace of mind and up your wrap game!
Creating a holiday gift wrapping station will not only save you time throughout the holidays by having all of your gift wrapping supplies in one convenient place, but it can support your peace of mind, budget goals and instantly up your gift wrap game!
Gift wrapping doesn’t have to be such a struggle, so why is it? Well, we’ve all seen the eclectic beautifully wrapped gifts sprinkled throughout our instagram feeds and it can make us feel like we have to present something creative and unique, we can find ourselves being ashamed of our gifts if we haven’t deemed them ‘instagram worthy’ wrapped. That’s stressful, and unnecessary.
Of course I am all about doing what I can to make things feel luxurious and special, but I always start with the basics. When I find something simple that works and ALSO creates an elegant touch, I operate right there until it’s second nature – Only then do I move to another level.
When it comes to holiday gift wrapping, I've found that for me ‘the basics’ start with a system that I do over and over again.
A few years ago I chose a simple color scheme, a simple holiday gift wrapping style with a simple gift tag plan. However I was still storing all of my supplies in my hall closet. So this year I prepared a wrapping station to support this plan and take my stress free holiday prep to the next level.
Now when I have a party in 30 minutes and have a last minute gift to wrap, I don’t feel overwhelmed with the burden of coming up with a beautiful design off hand or running around trying to grab all of the supplies I need out of my drawers and closets. I don’t have to think about it. I simply pull out my gift wrapping station and do it quickly, without much thought except now I can use my extra time to focus on what I want the card to say.
Creating this system has been like giving myself a holiday gift because I have peace of mind in those inevitable moments
Deciding what you want your final wrapping style to be.
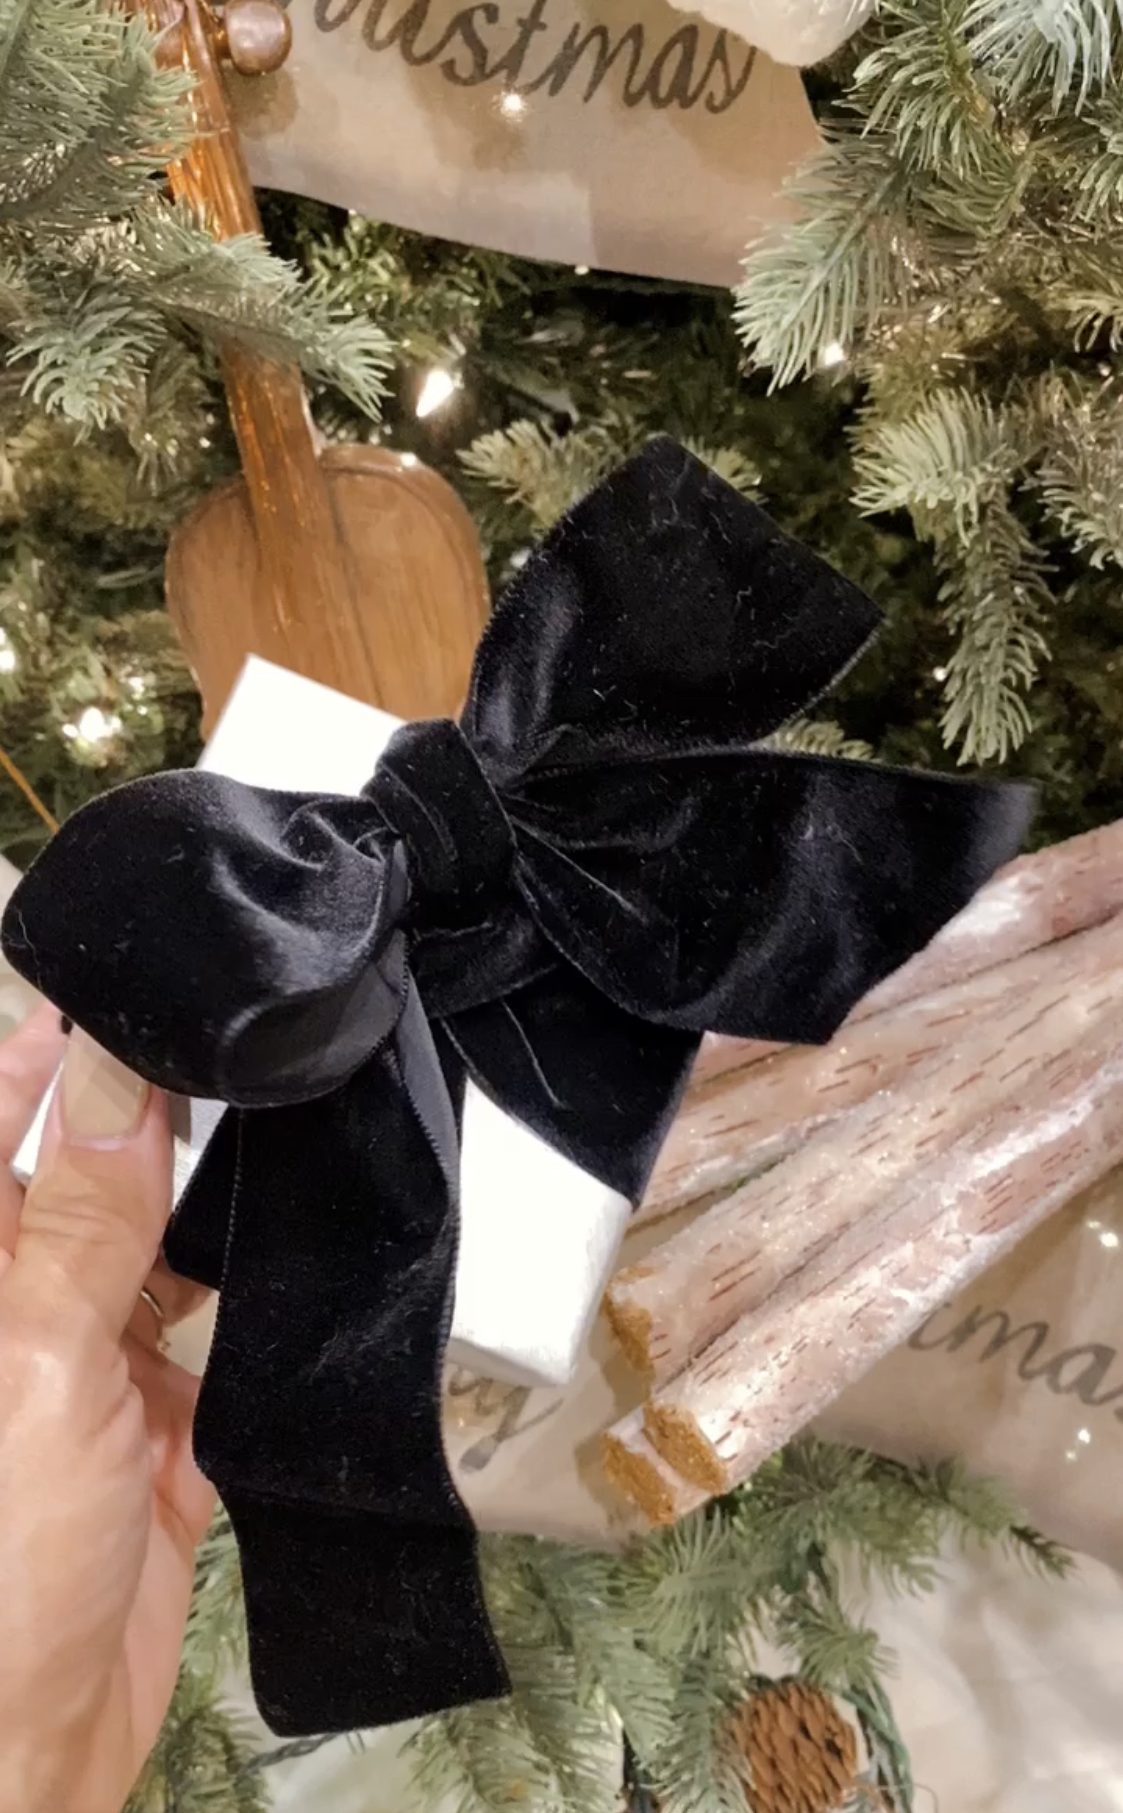
I have a basic style of wrapping every gift. I use traditional wrapping style with the paper and then I use one ribbon to create an easy to unwrap bow. You can check out how I most often tie my bows, like the one above, in my IG reels.
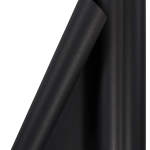
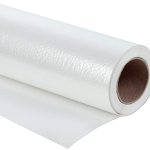
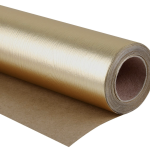
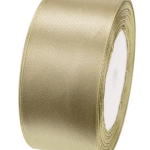
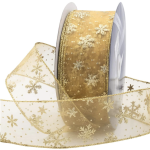
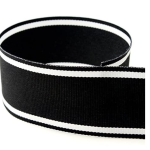
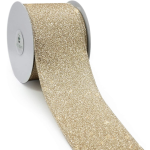
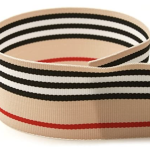
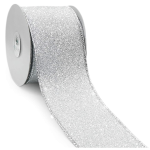
I use 3-4 basic, solid colored wrapping papers: black, white, gold, silver and beige tones and then I may have one or two patterns in that same pallet. I watch for sales for beautiful ribbons in that same color scheme and reuse the ribbons each year. Using ribbons instead of pre-made bows winds up creating savings in my Christmas budget in the long run because I don’t have to repurchase each year because of crushed, tangled or discarded bows.
That’s it, it’s very simple yet delivers beautiful results.
Once you have decided how you want the design of your wrapped gifts to turn out, then the most important next step to support your stress free holiday is to create your wrapping station.
Of course there are many ways to set this up uniquely for your needs, but hopefully you’ll find some great tips to start your very own holiday gift wrap station.
Here are the steps I followed:
1. Decide on a convenient space for your holiday gift wrapping station
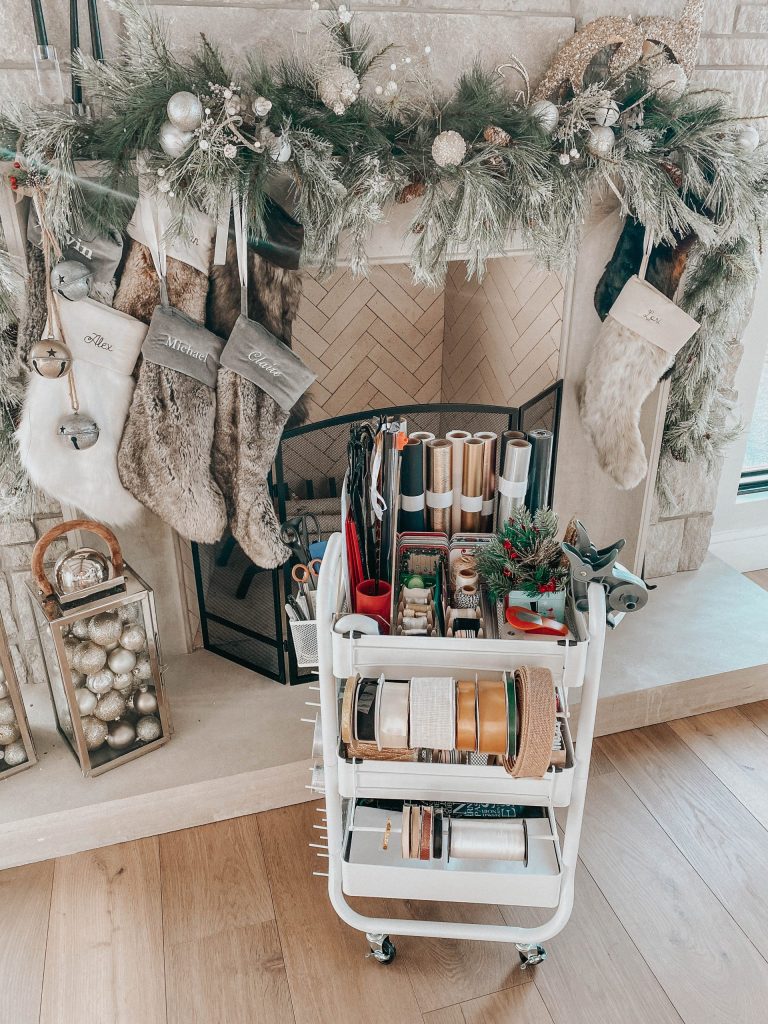
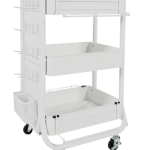
- When we were building, I had originally planned to have a gift wrapping station in my laundry room/mudroom. As we continued to design, it was quickly cut from the plan. I am honestly not sad about that. I’ve actually found that I really enjoy having a portable gift wrapping station, sometimes I want to be in my room or there are times it works great to wrap at my kitchen island. So for me I love this little portable station I’ve been able to put together and it fits perfectly in my hall closet and can be taken anywhere on a whim.
2. Decide how your gift wrap elements will coordinate together
- Colors
- Textures
- Final style
3. Determine the tools, gadgets and supplies you want on hand
Your wrapping station will be unique depending on how you like to wrap gifts, but here’s what I’ve found to be helpful and a great place to start!
- Rolls of Wrapping Paper
– Color coordinated of course
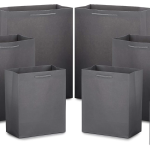
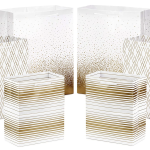
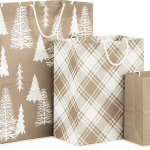
- Gift Bags
– Bags (small, medium, and large)
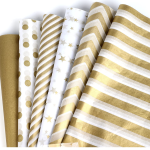
- Tissue Paper (various colors)
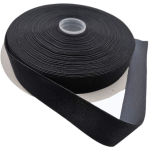
- Ribbon
- Embellishments
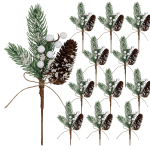
– Greenery
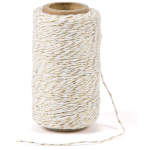
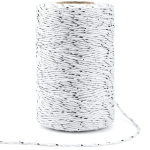
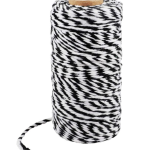
– Twine
- Gift tag supplies
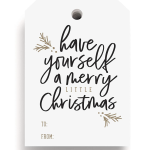
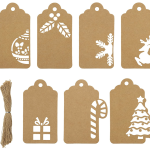
– Pre designed gift tags
– DIY tag supplies
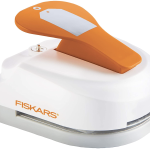
– Tag maker punch
– Metal Grommets Kit
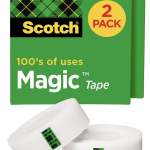
- Tape
– Tape
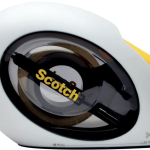
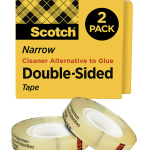
– Double sided tape applicator
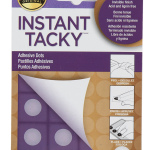
– Double sided glue dots tame unruly bows and bond thick, hard-to-work with paper like glitter
- Cutting
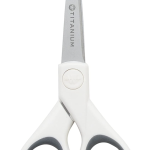
– Scissors
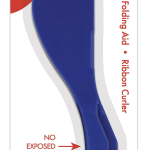
– Helix Paper Cutter, Folder & Ribbon Curler Tool
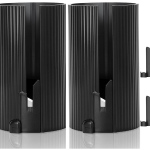
– Sliding Wrapping Paper Cutter
- Writing Tools
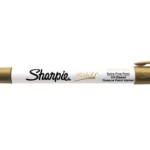
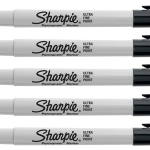
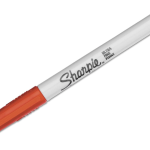
– Colored pens or markers for labeling tags
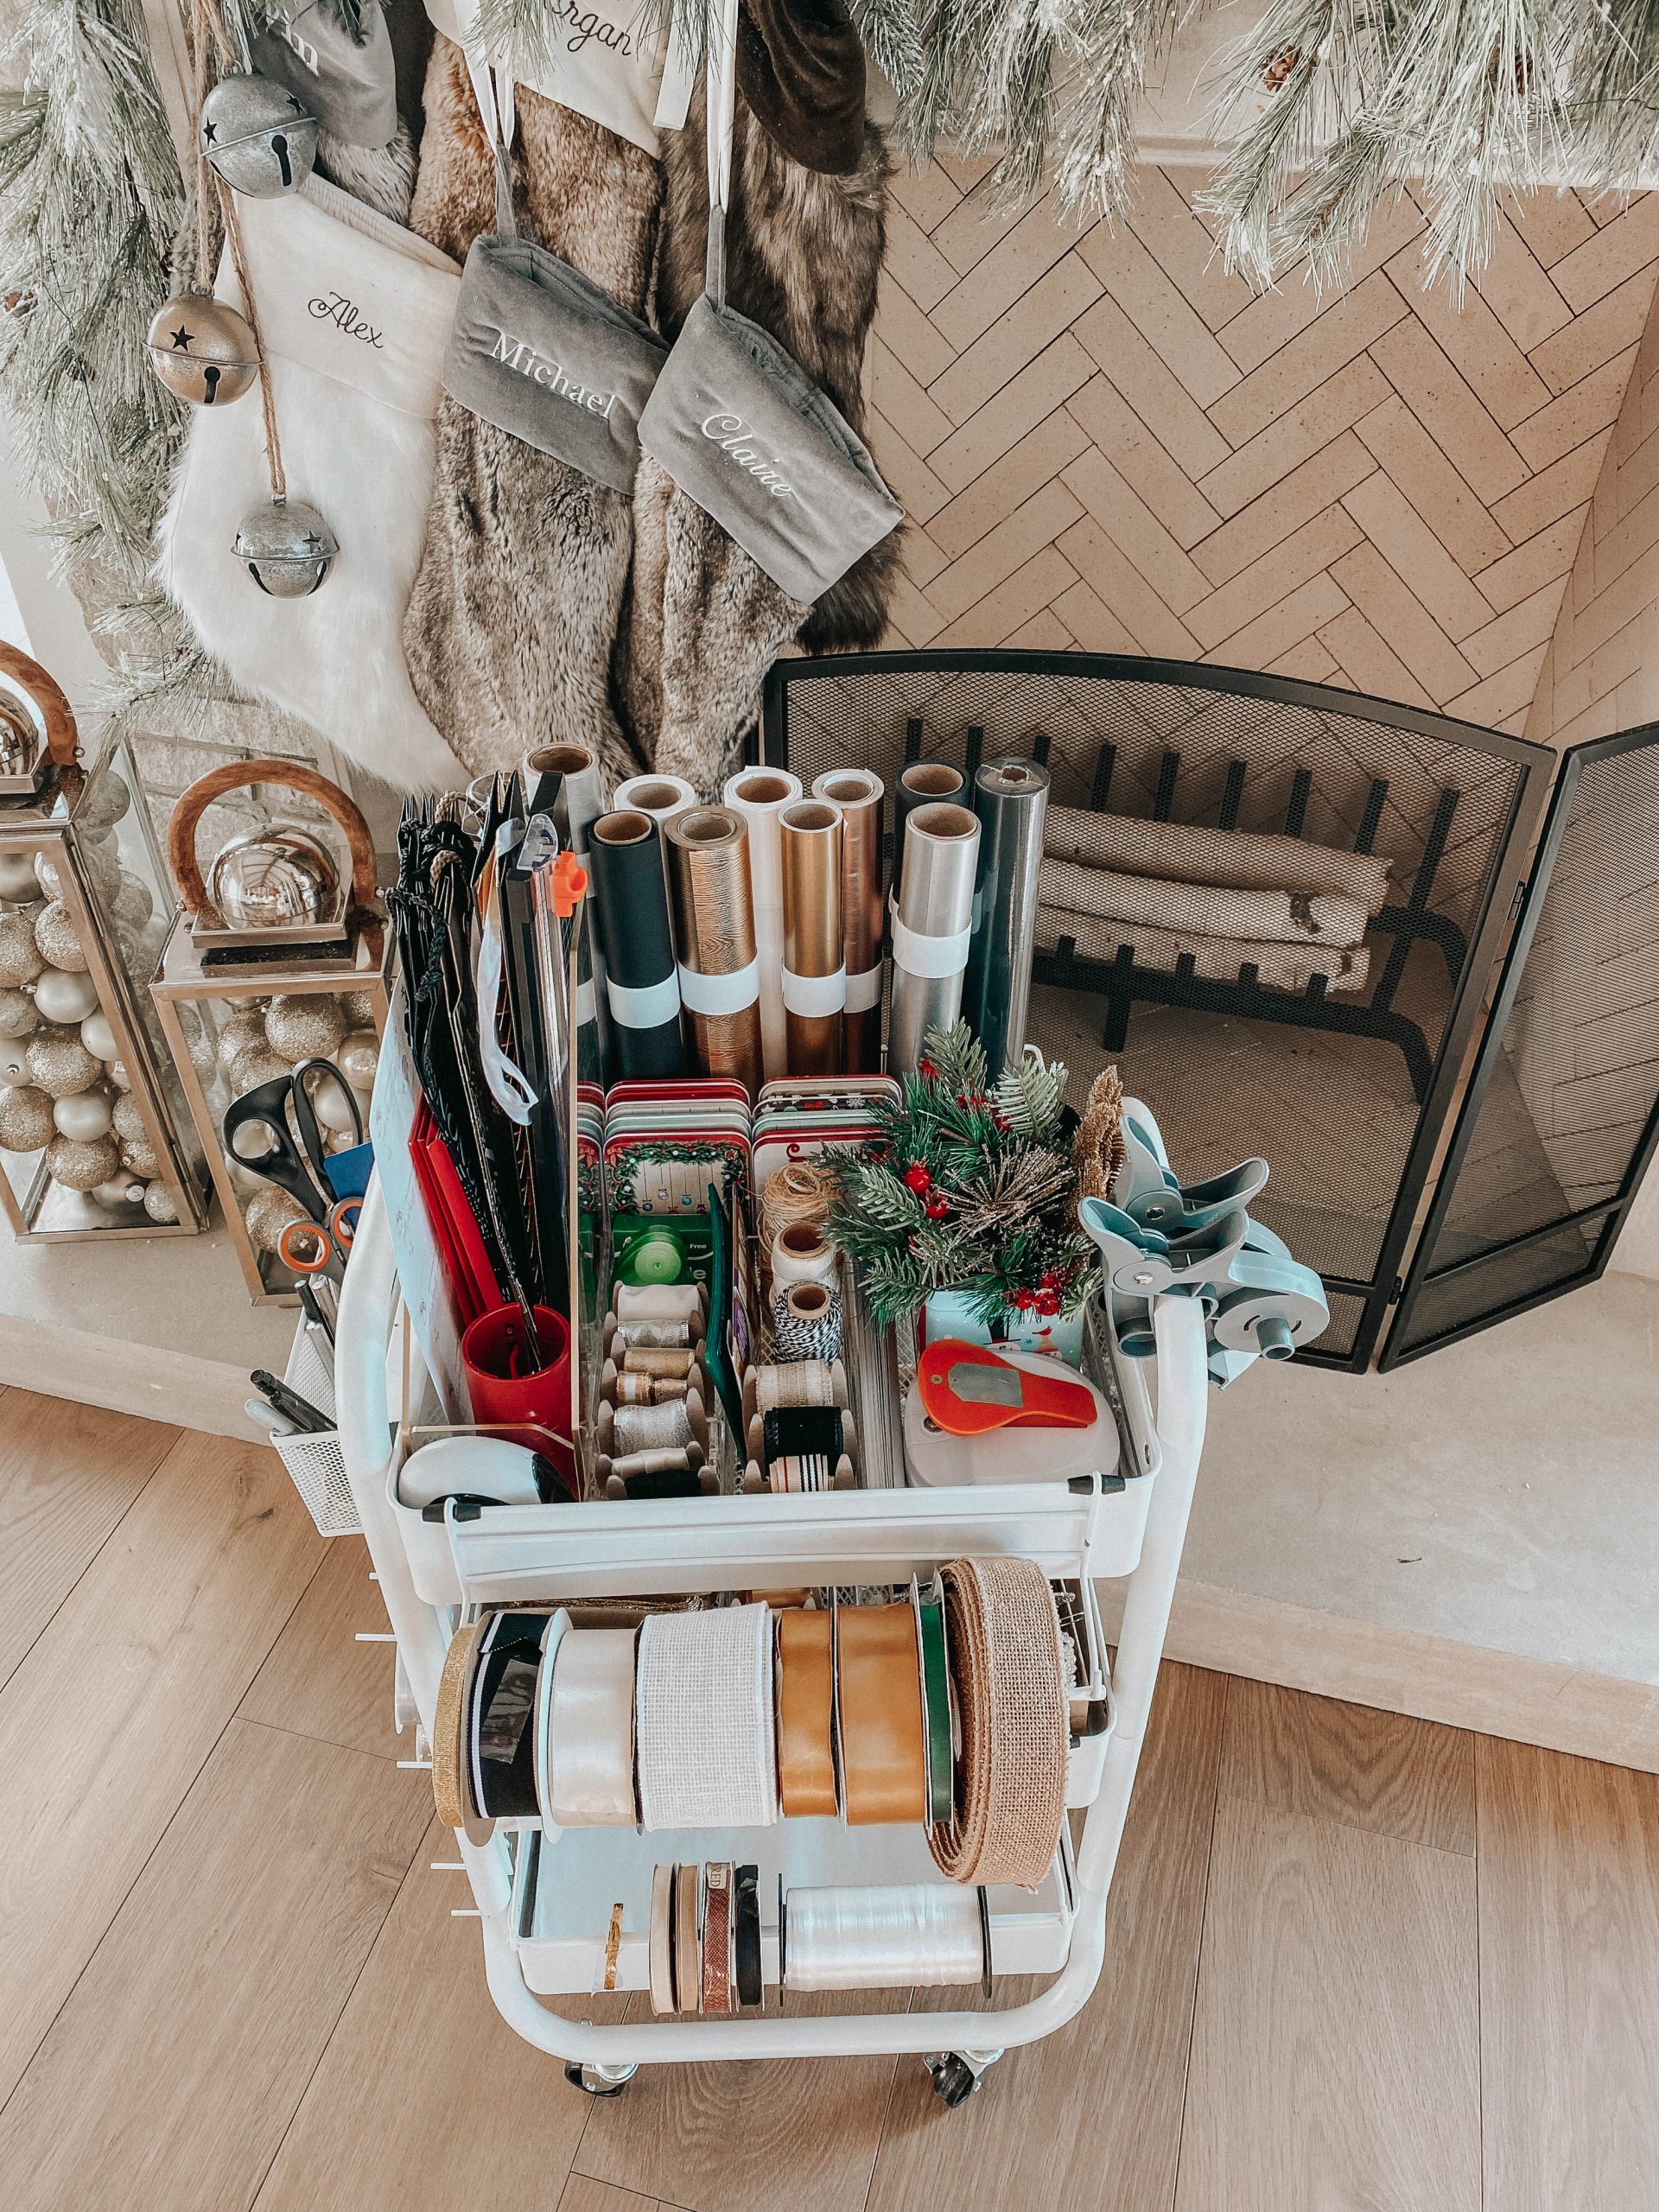
Holiday Gift Wrapping Station:
Again, there are so many items out there that you can utilize!
Here’s what I used in my Instagram reel where I shared my station:
- Michaels cart
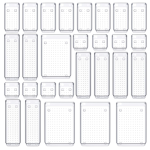
- Clear Acrylic Organizers
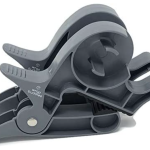
- Wrap buddies
- Slap Bracelets to hold wrapping paper
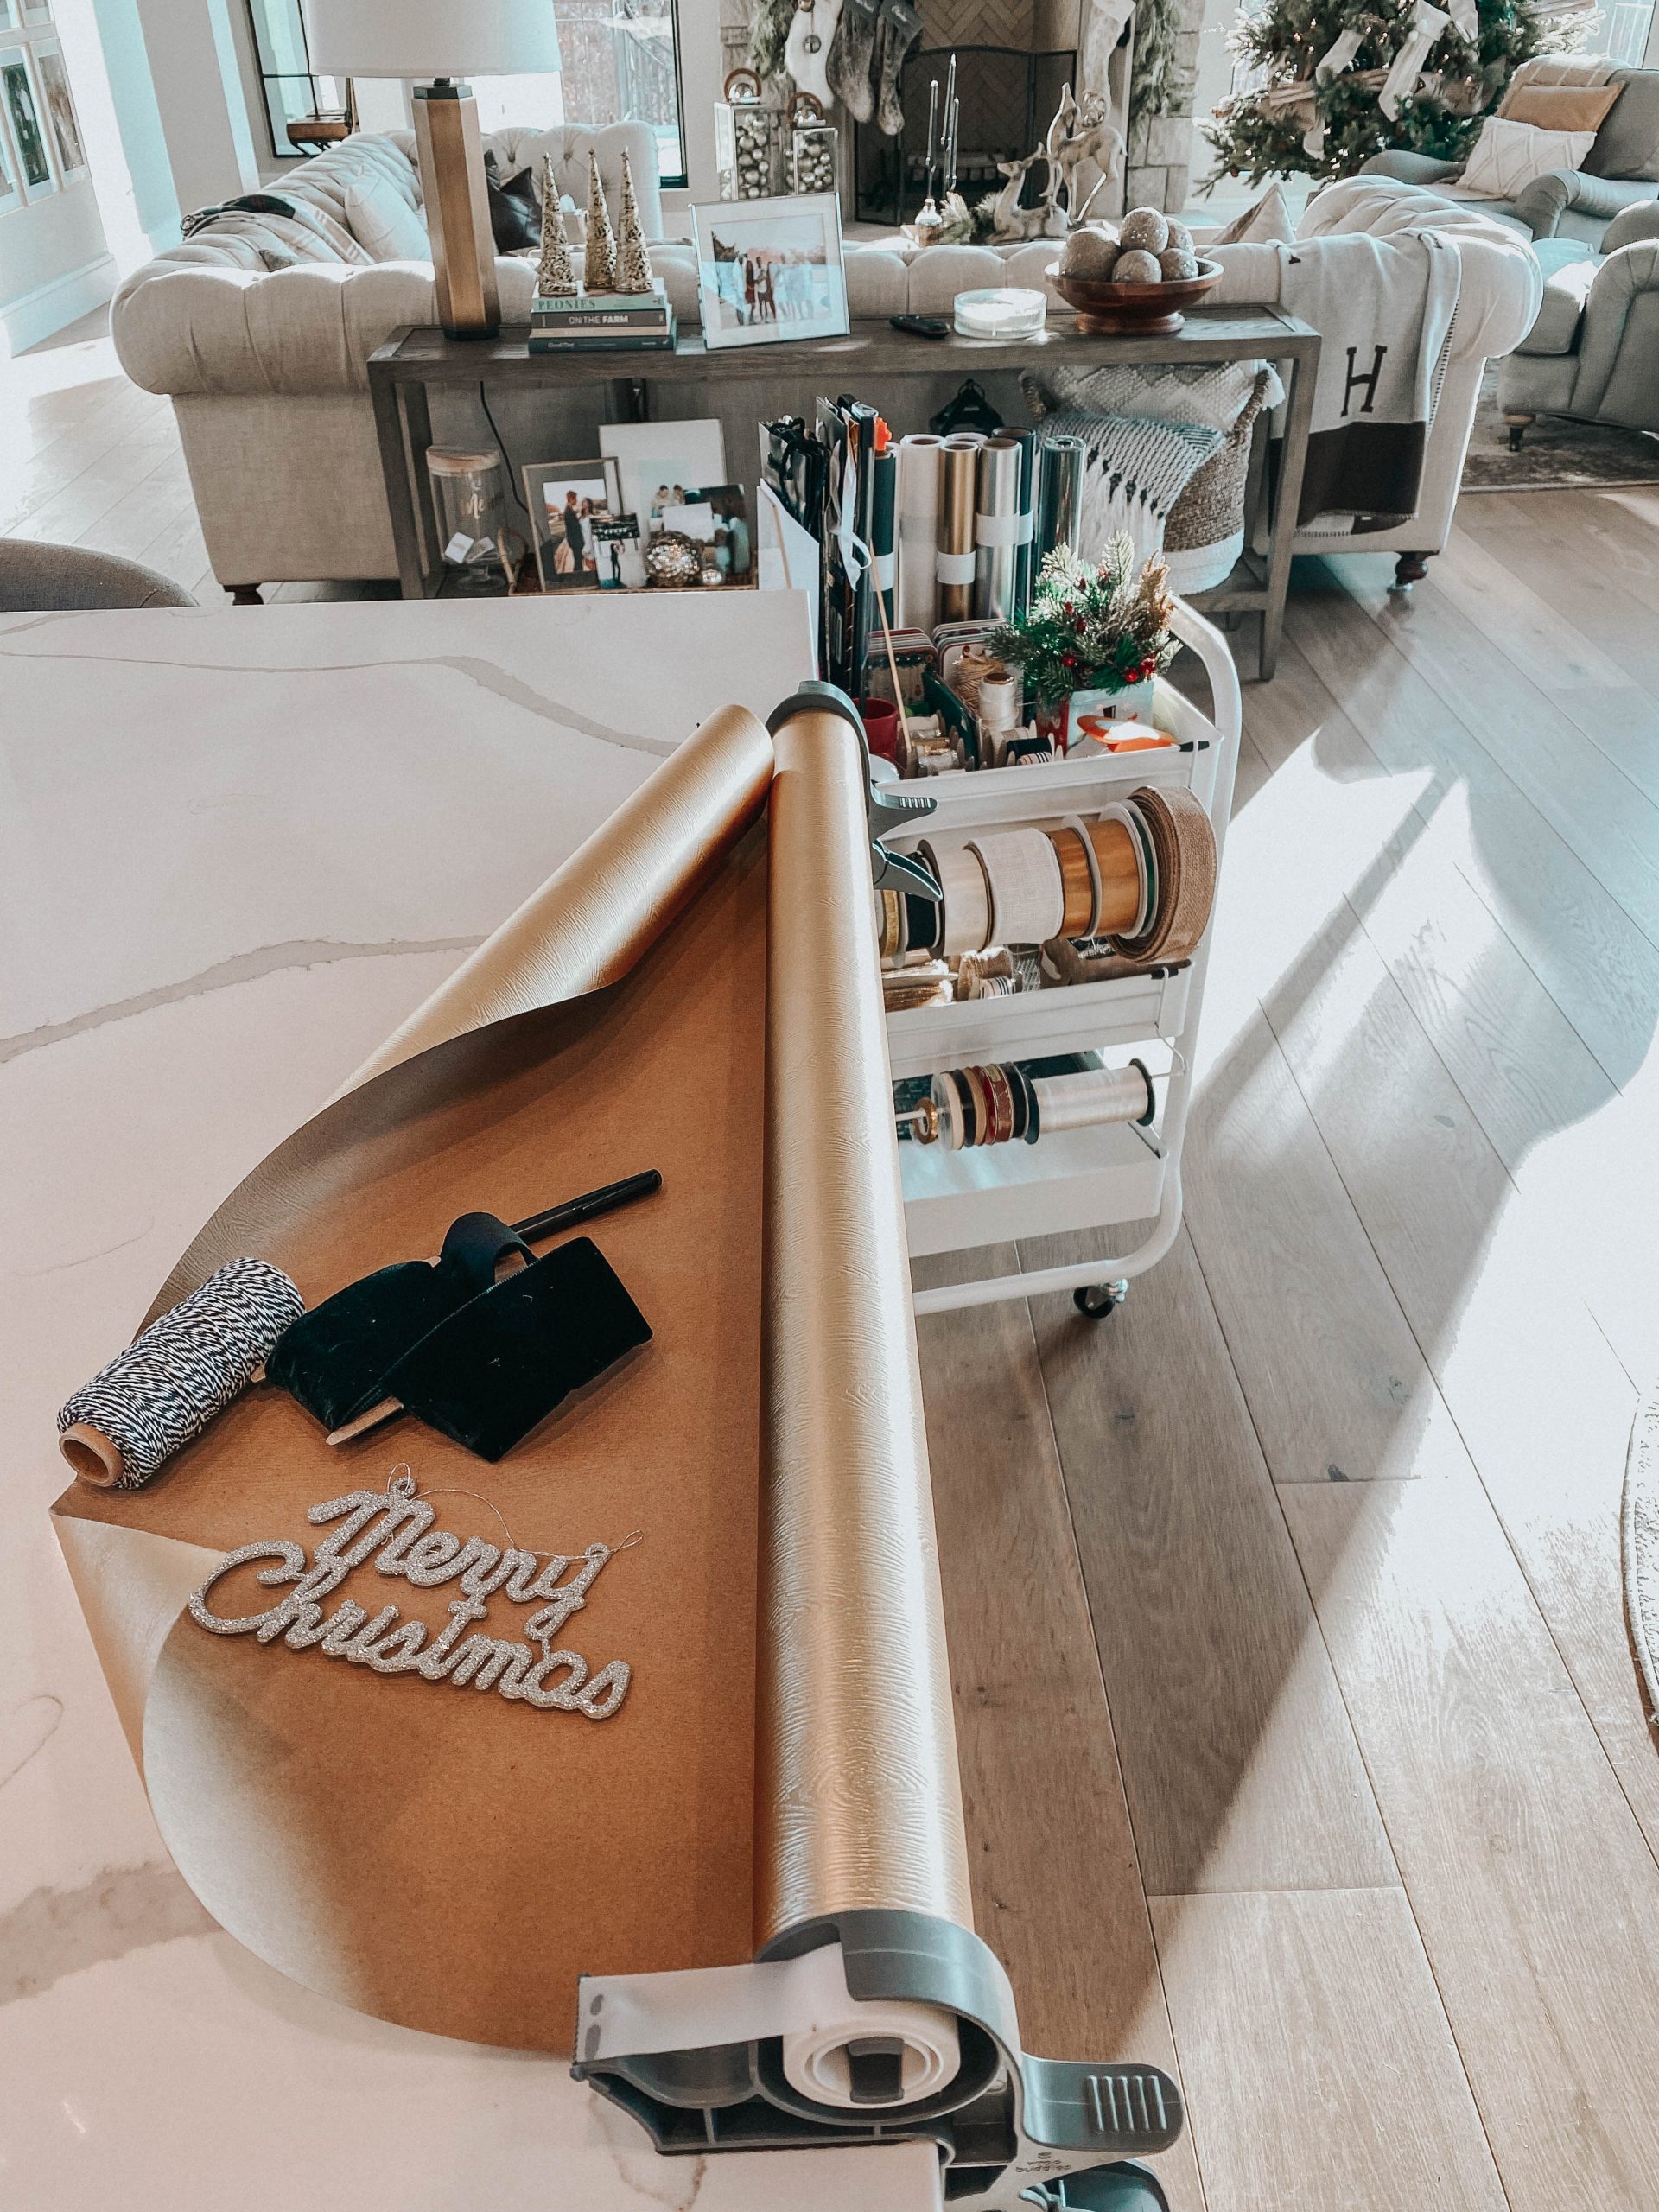
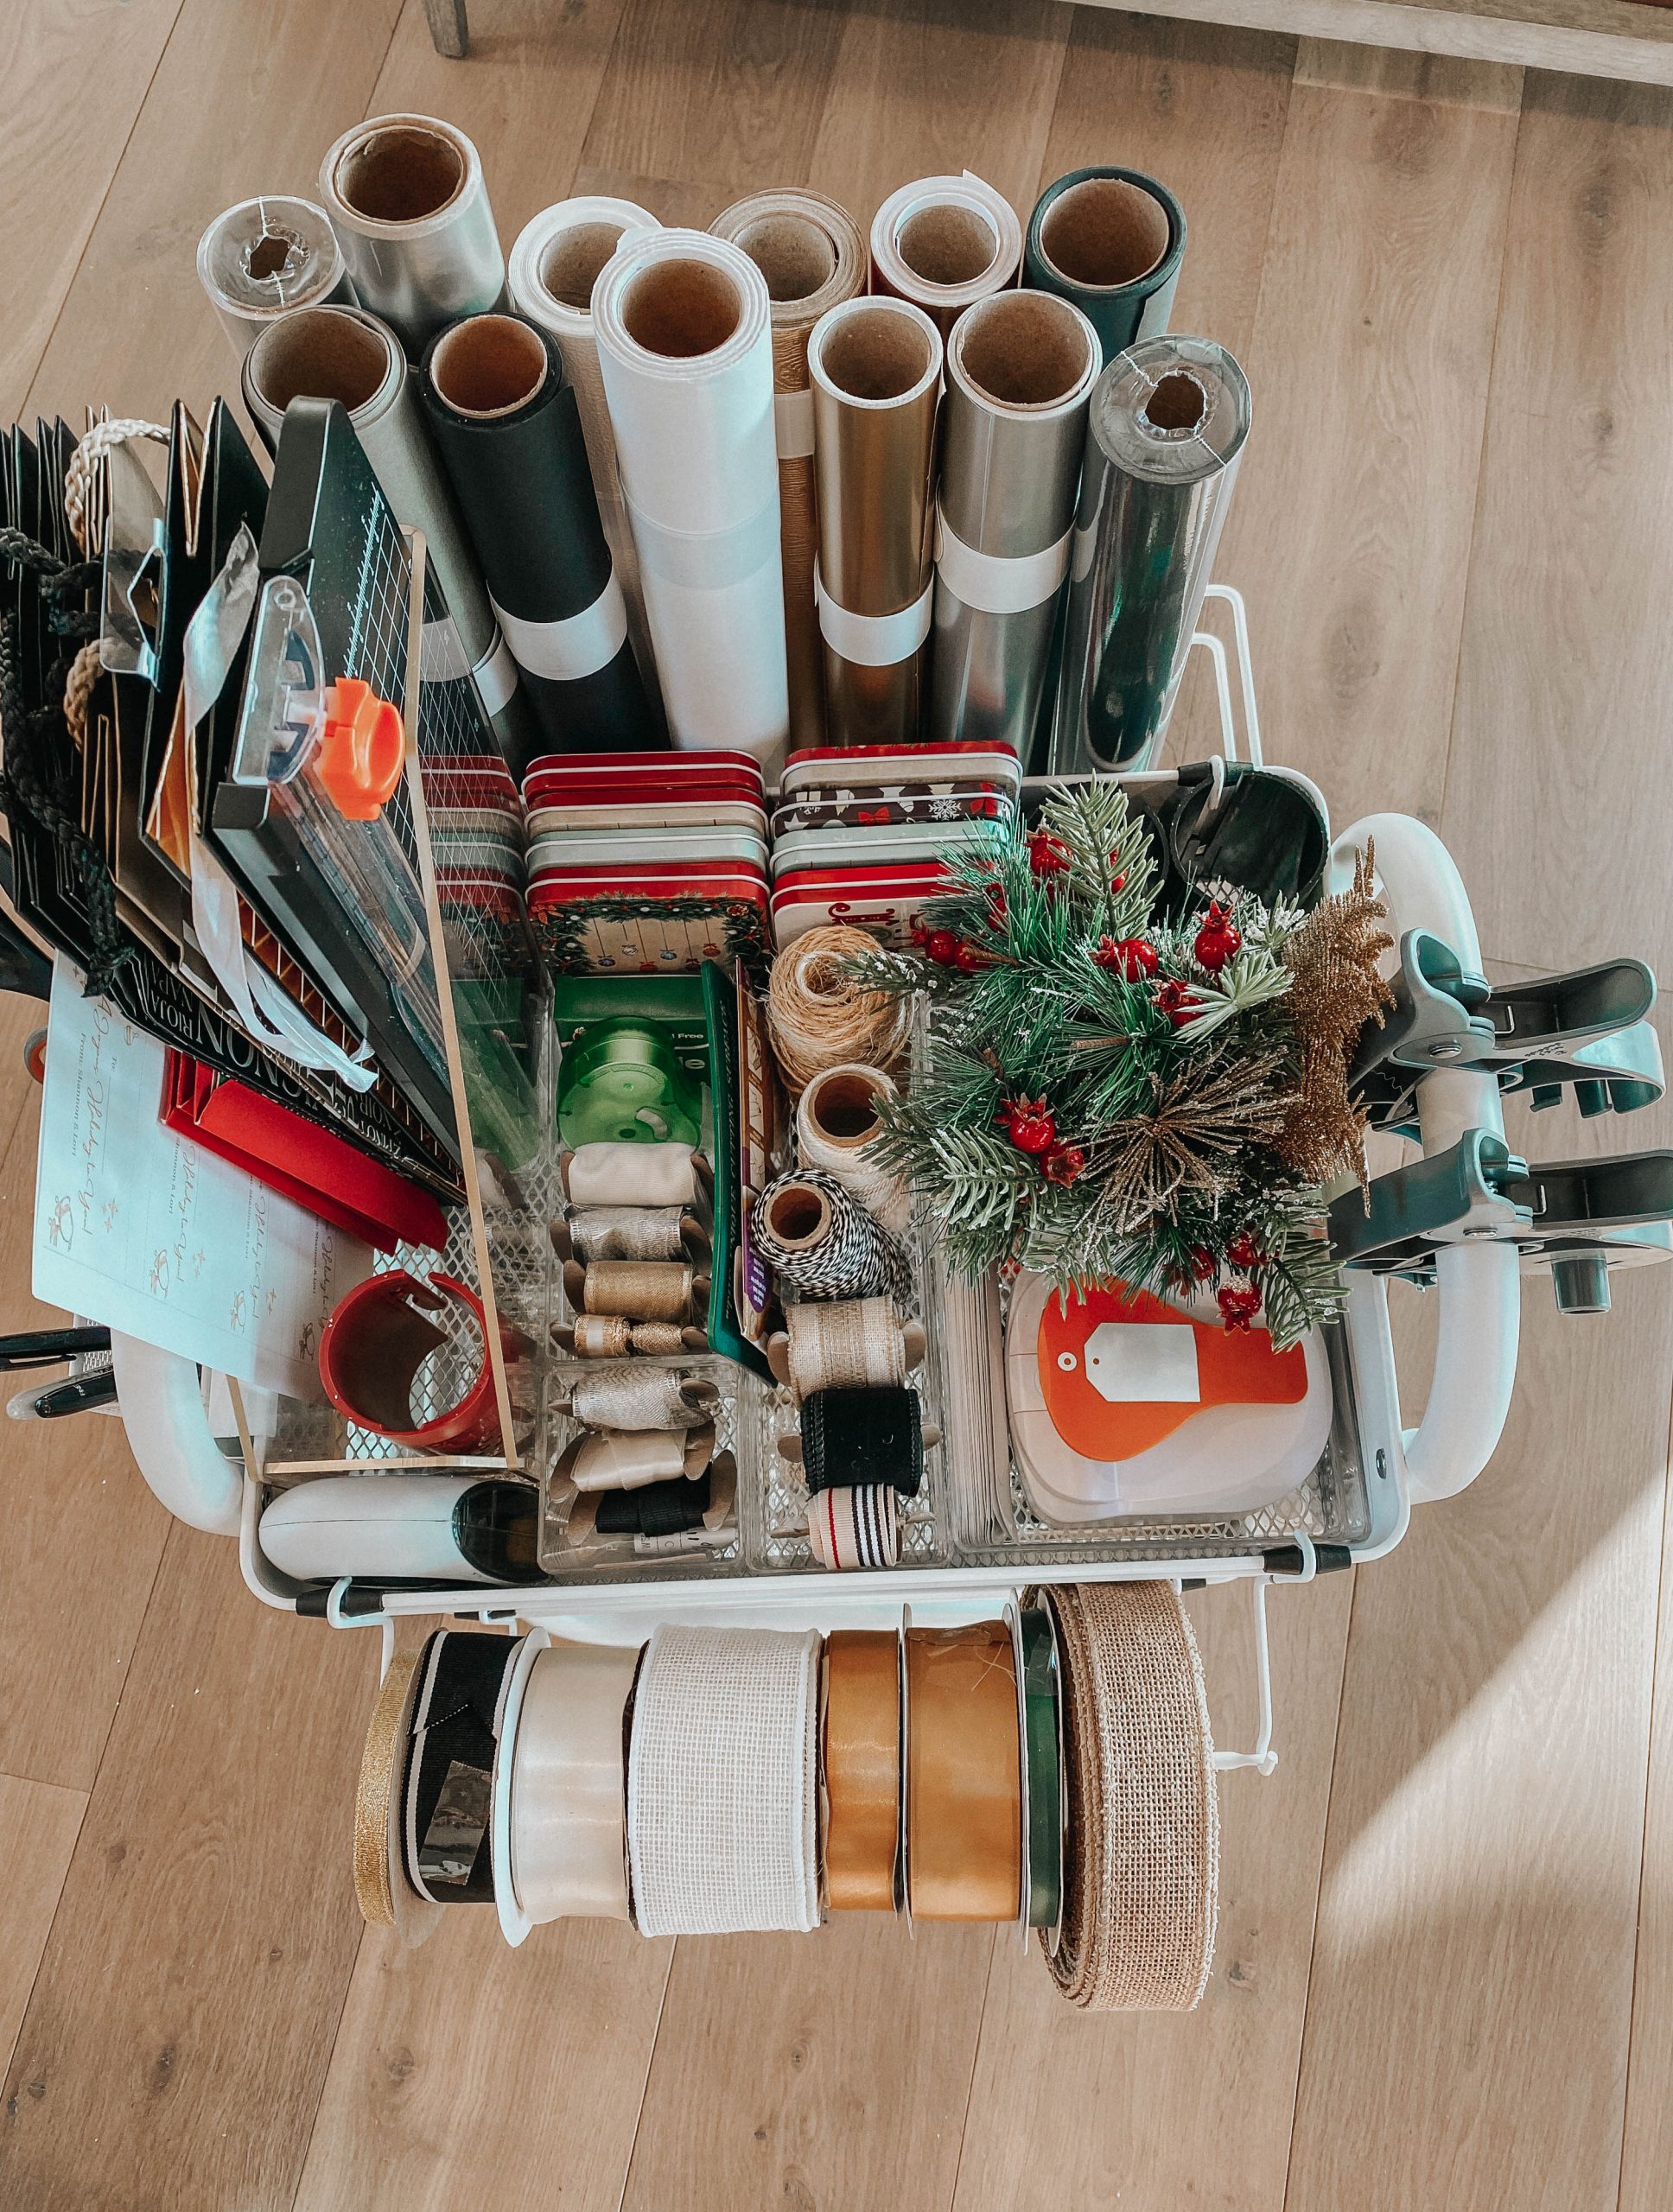
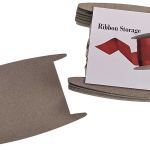
After I decided it was time to create an organized, stress free way to bundle all of my gift wrap supplies, I did a lot of research reading blogs and getting ideas that would come together to create the best station for me. I found this idea from the website Practical Perfection. I loved all of her ideas and it seemed to meet my needs better than a stationary system. After adding my ideas and using it for a few weeks I am so glad I found it. It’s worked amazing!
I hope this helps you stay stress free this holiday season as you create the holiday you desire for your family! Let me know how your station comes together or any ideas you added!
Merry Christmas!
Need more holiday ideas? Check out the Week of Thanksgiving Planning Checklist along with my Holiday Tips in my Instagram highlights.

