"Track the Past, Order the Present, Design the Future." ~ Ryder Carroll
It’s exciting to purchase a new journal planner! However, to ensure that you’ll actually use the planner, you’ll want to set it up first thing in a way that is easy for you and your lifestyle. What tools do you need? What will you write in it? How will you organize it? Where do you start? It can be intimidating.
Keep reading below. You will learn how to set up your new planner efficiently to propel your next 12 weeks of journaling & planning your life. In this quick guide, I’ll share tips to help determine your planning style, pre-prep to-do’s, and planner essentials that you’ll want to consider. Decide from the ideas below if you are more of a minimalist-style planner or if you enjoy a more curated setup. Suppose this is your first serious attempt at adding a journal planner to your lifestyle. In that case, I recommend starting as a minimalist. Then when you’re ready to add a personalized design aesthetic to your journaling and planning time, come back and reference the ideas below to take it to the next level.
Basic Functional Planning/Journaling:
Journaling and planning, first and foremost for me, is about pouring out and organizing my thoughts. Instead of allowing the mental clutter of tasks, to-do’s, and ideas to occupy this prime real estate, I write it out — freeing up my capacity to live more present. This will always be my primary reason to have a physical journal planner. It’s simple, basic, and productive.
Aesthetic Journal Planner:
Lately, I’ve been growing my journaling and planning process into a fun hobby and creative outlet as well. I’ve been studying how others design their page layouts, adding stickers, markers, calligraphy, etc. I currently try and fail more than I finalize a page that I am super proud of. Still, I’m enjoying the process and learning things I was unaware of before. There is an overwhelming list of design styles when it comes to adding these elements to your planner. I am currently drawn to a more minimalistic style. Too much clutter or color diversity is overwhelming to me and becomes counterproductive. I love how creating an aesthetically pleasing spread makes me feel about planning and journaling. It has ignited a new excitement into the process.
But again, this is still my main productivity tool in both my personal and work life, so I allow my style to move back and forth, between functional planning and aesthetic planning, according to my available time, creativity and mood.
Step 1. Determine what you need & what you want to have space for in your journal planner.
Just because there is a long list of things you can track in your journal planner doesn’t mean that’s what you want right now. Make a list of needs vs. wants. Only track/plan for what you need, then slowly add what you want as your journal planner habit grows. (check out these lists to consider for tracking in your journal – Lists You Didn’t Know You Needed In Your Planner)
Example:
NEEDS – Monthly Calendar, Weekly Preview, Daily Time Blocks, Daily Journaling Prompts, etc.
WANTS – Vision Planning, Goal & Habit Tracking, Routine Planning, etc.
Decide what’s right for you!
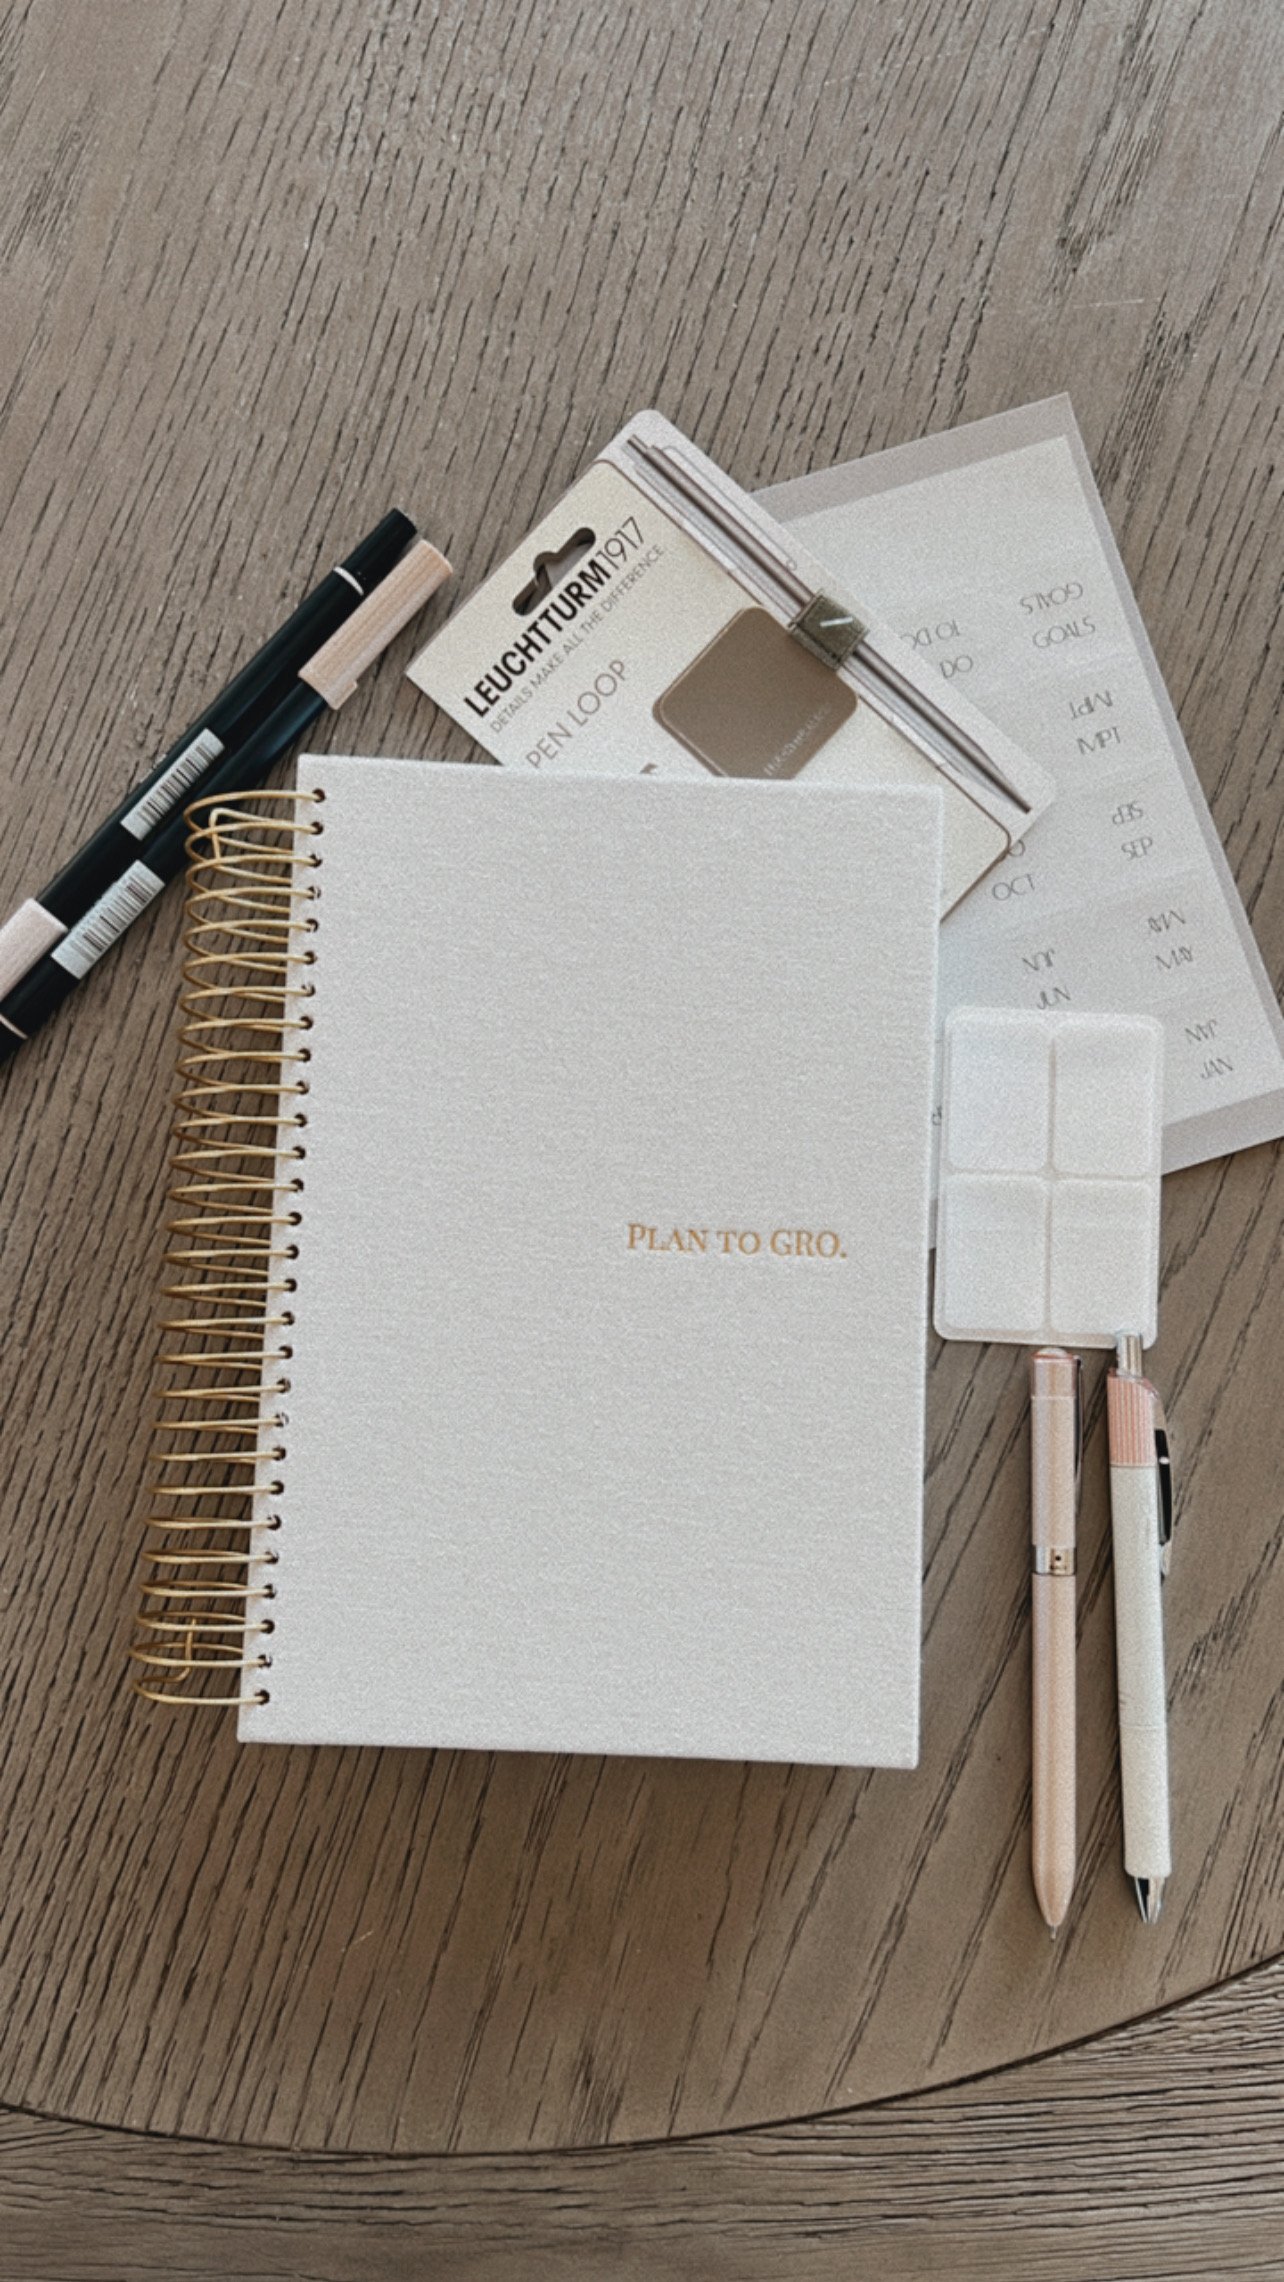
Here’s what you’ll need to get started with your Basic Functional Journal Planner
TWO ESSENTIALS
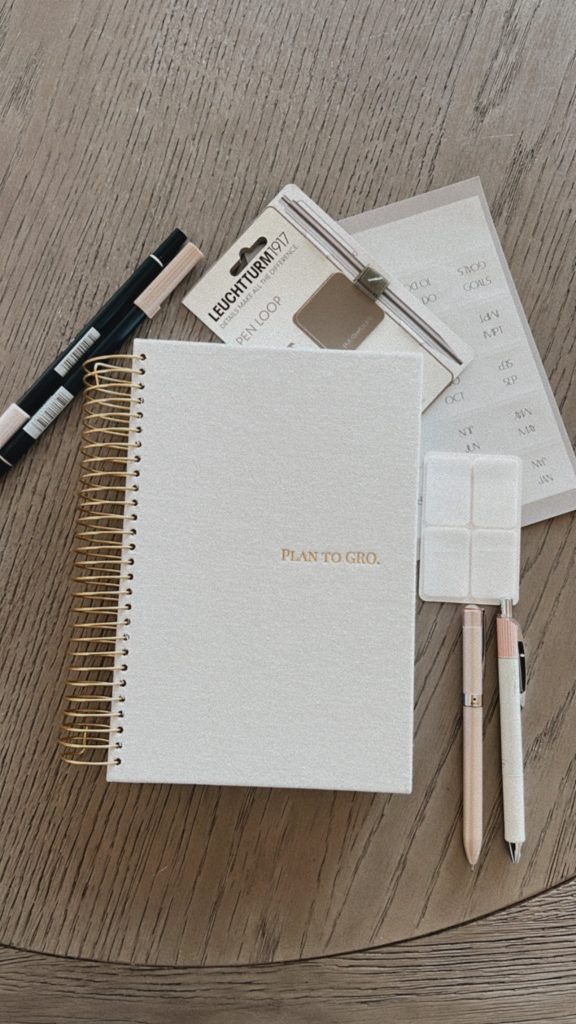
*A Journal (that most closely matches your current needs determined above. Most any functional planner or even a blank notebook will work. – Be sure to check out the Plan to GRO journal that was designed as a basic guide to get you started and then to support your growth along the way.)
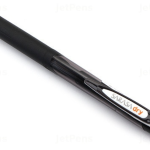
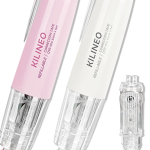
*Favorite pen or pencil – I started with a pencil and a journal, nothing else.
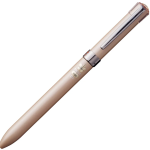
Current favorite pencil
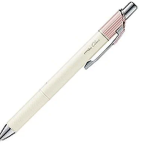
Current favorite pen
Plan to Gro Journal
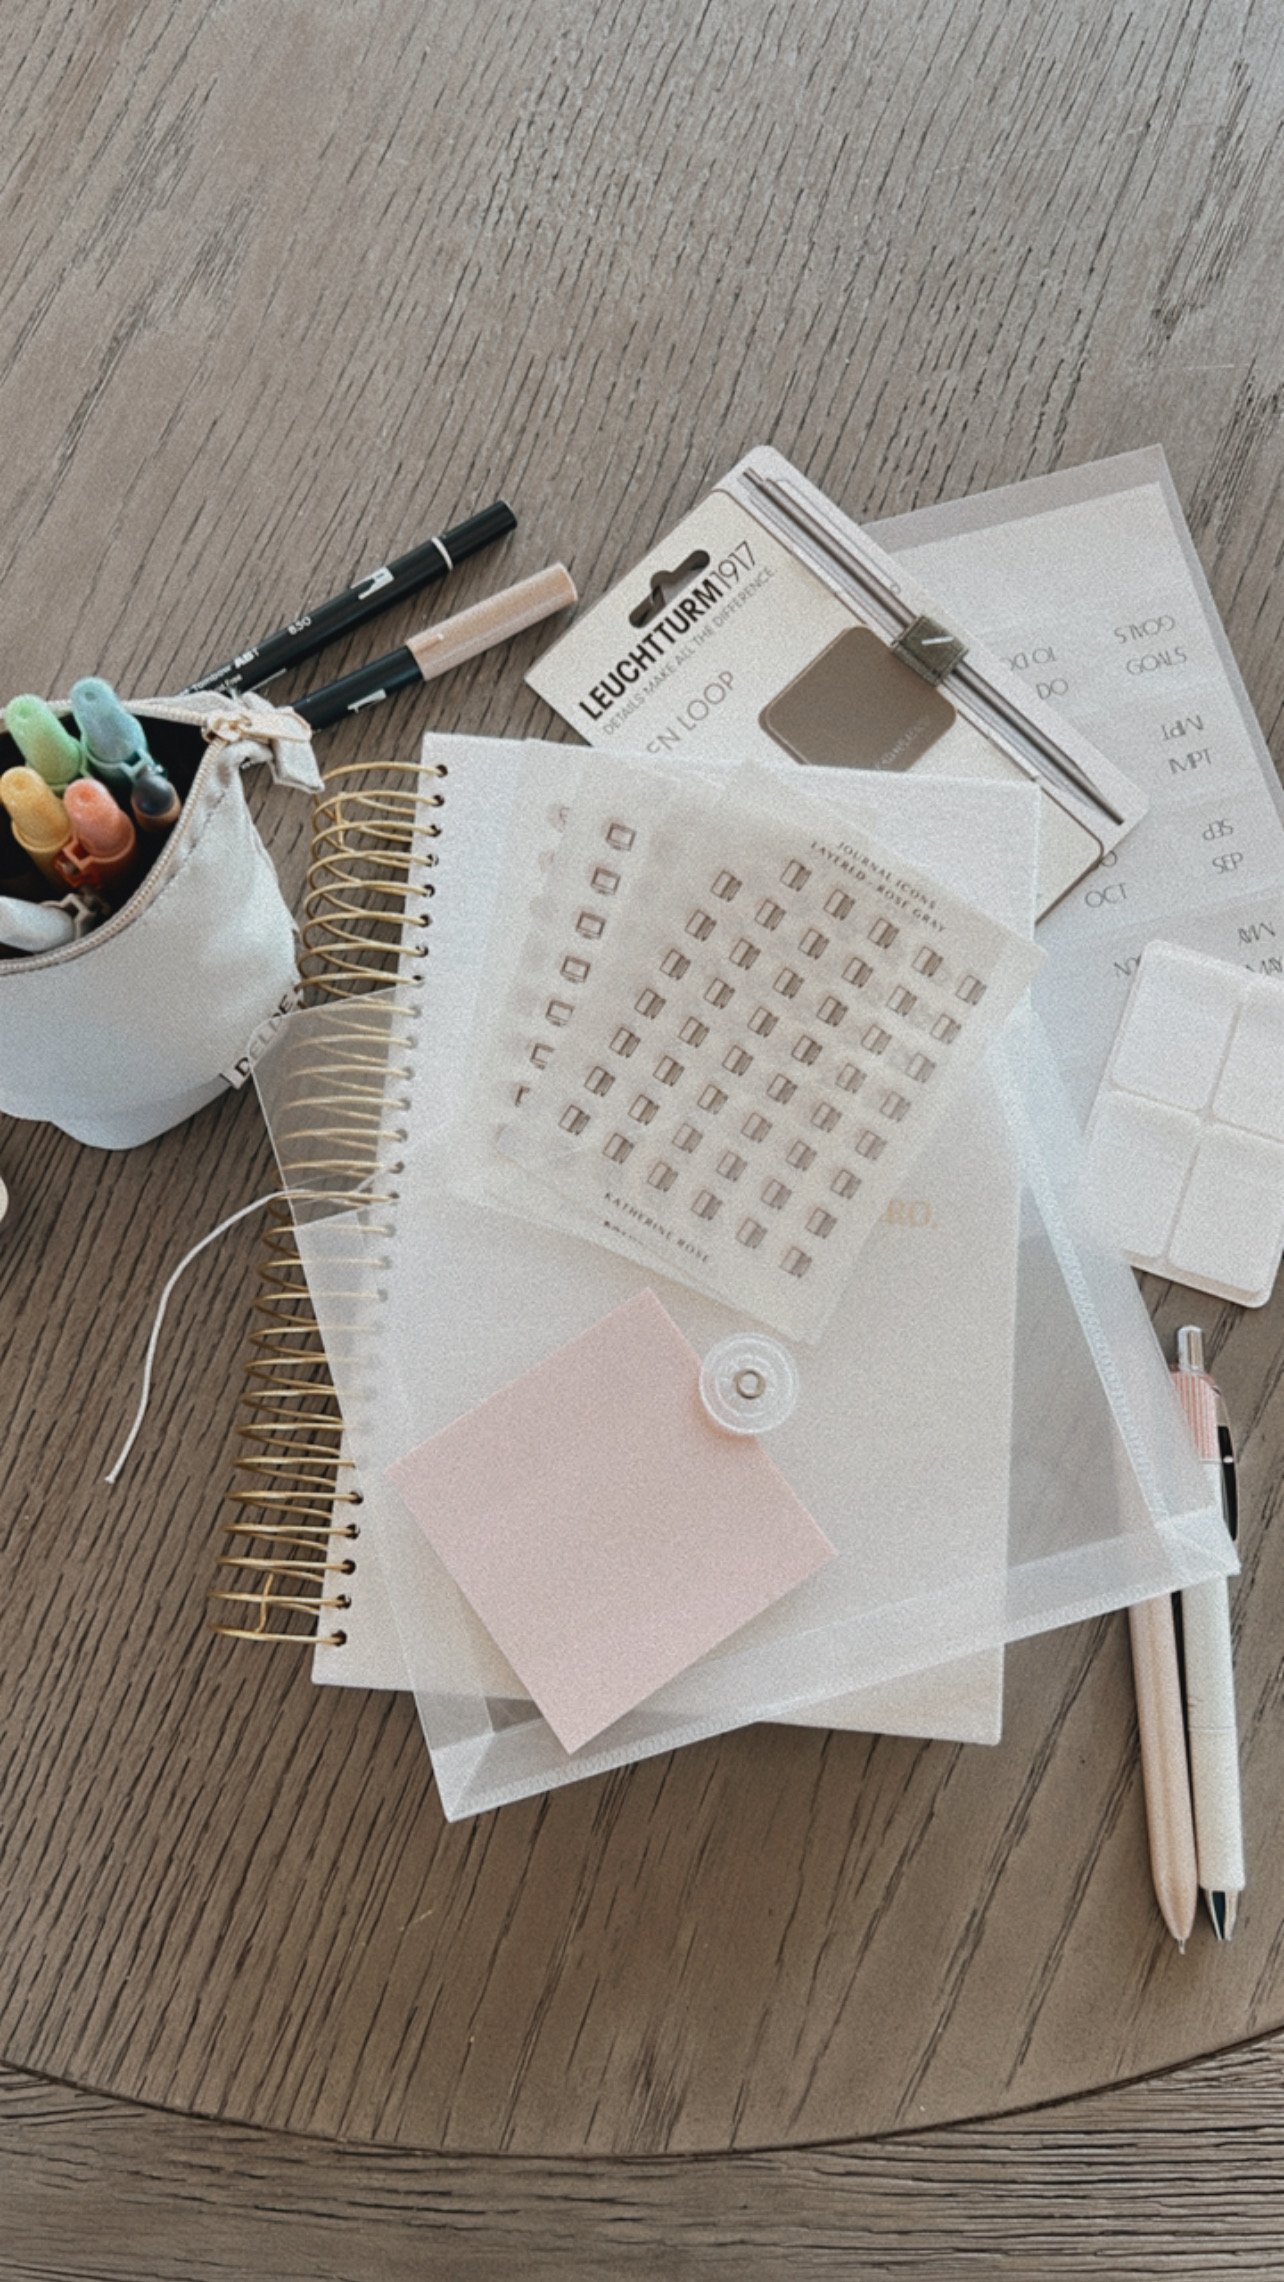
HERE’S WHAT YOU’LL WANT TO CONSIDER WITH YOUR ‘NEXT LEVEL’ AESTHETIC PLANNING/JOURNALING
RECOMMENDED:
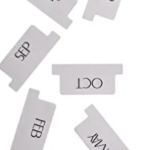
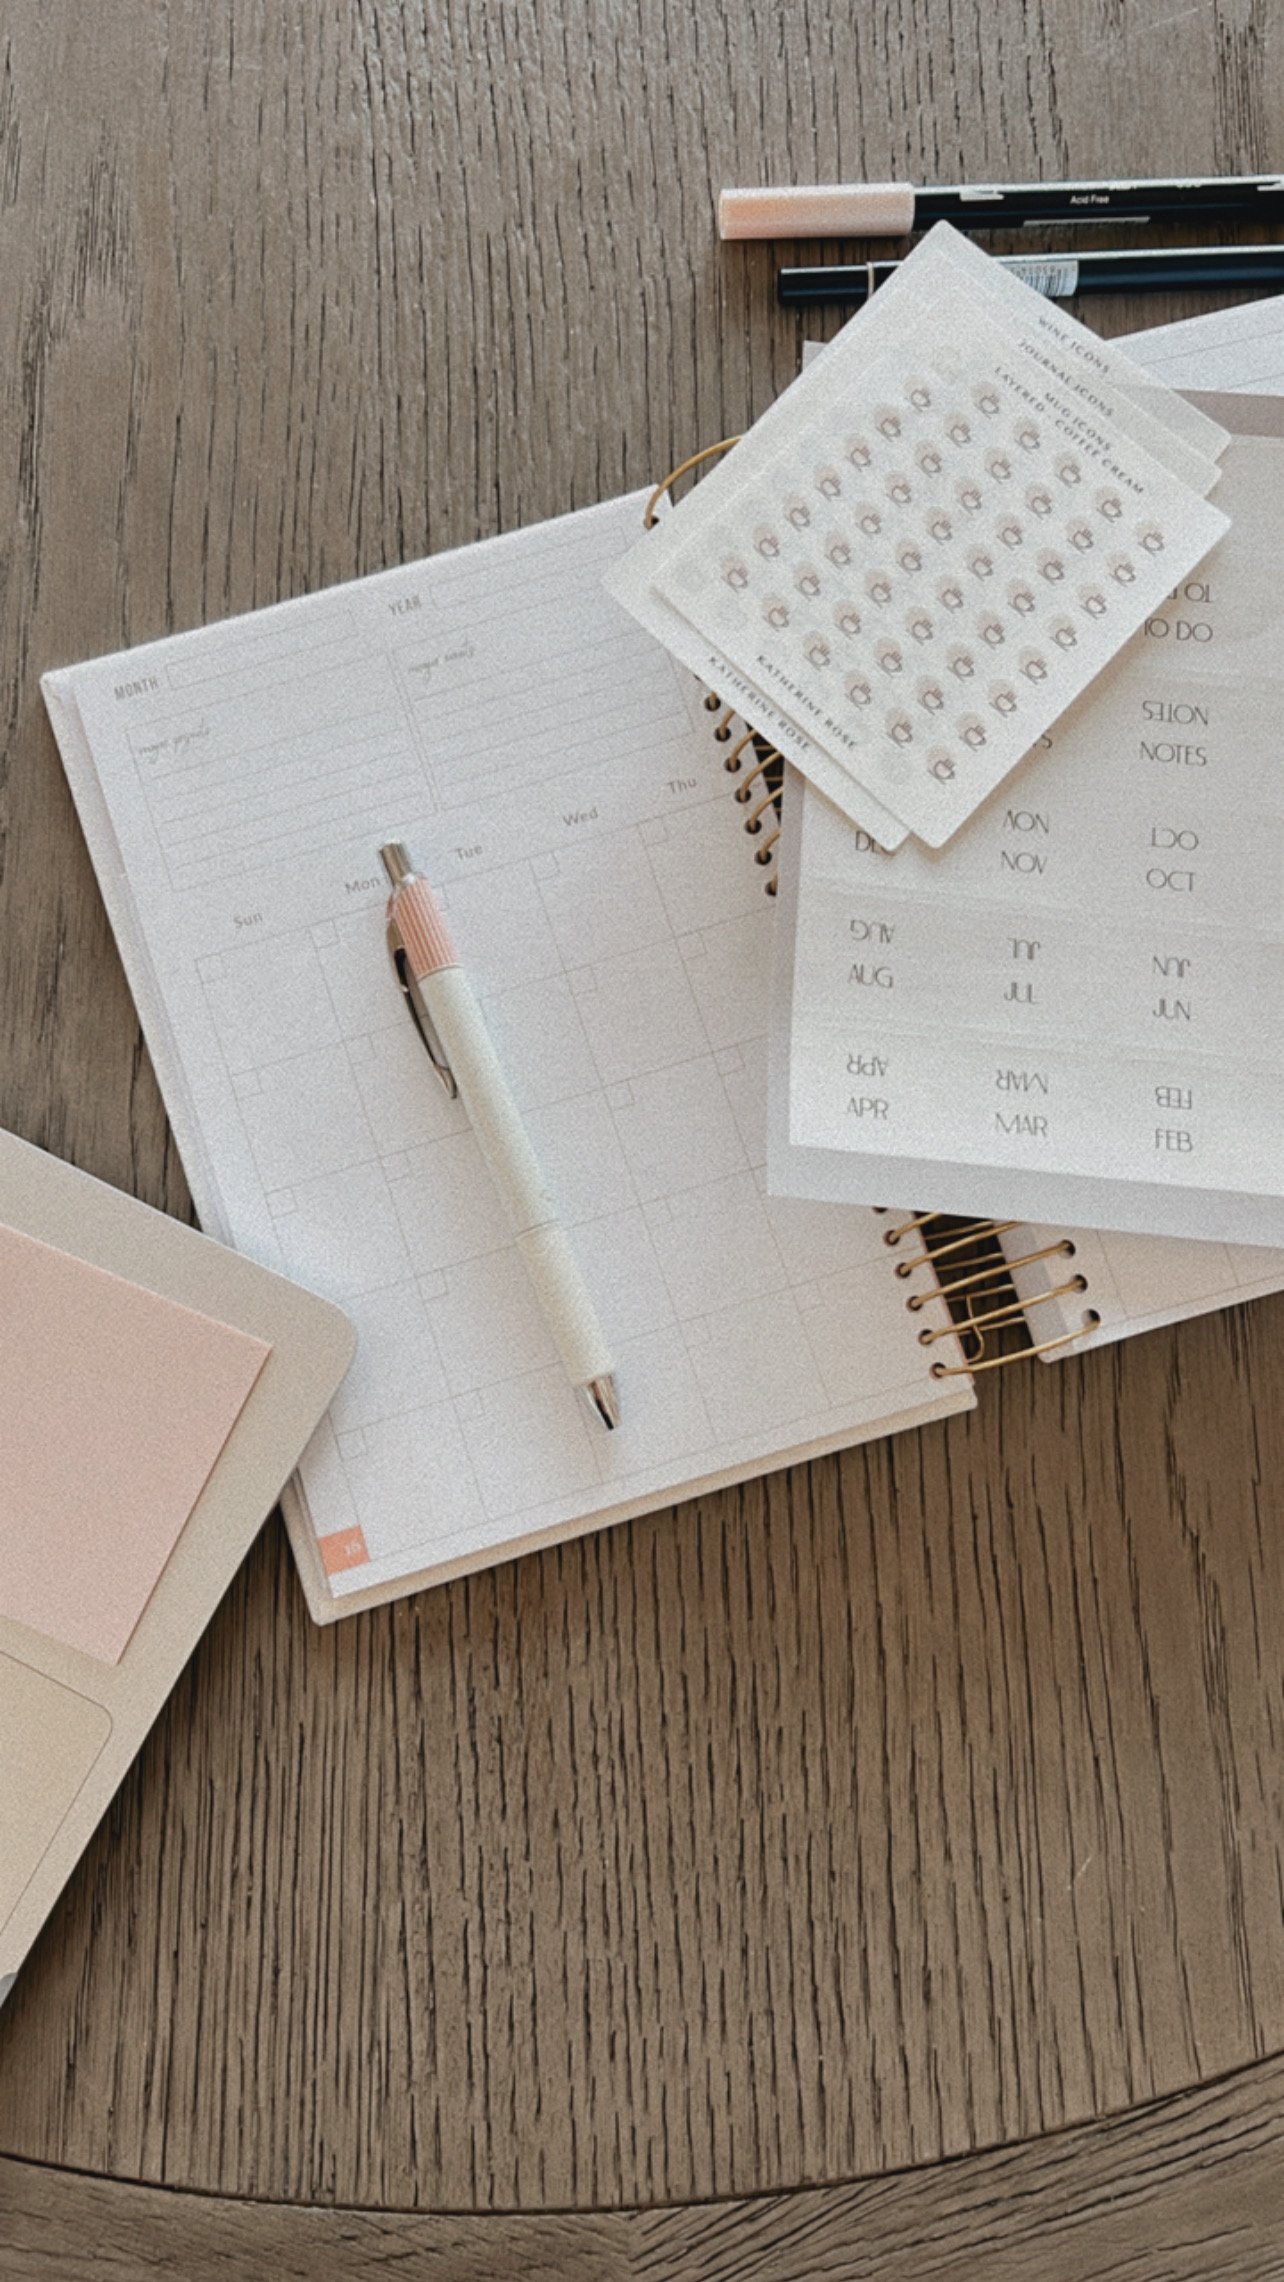
Monthly Tabs
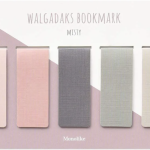
Page Flags
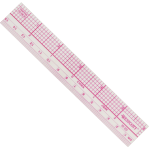
Ruler
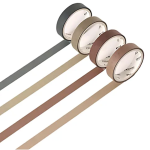
Washi tape – fold over like tabs, create headers/boarders
MIGHT CONSIDER:
Pen Case
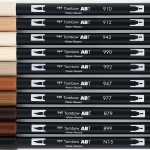
Markers
White out
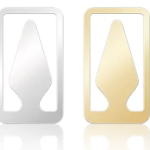
Magnetic Book Marks
It’s time to open those crisp new planner pages and start!
Add your name and contact info just in case it’s needed.
Add Monthly Tabs
(most other tabs I add as I am working through my journal)
Add Important Upcoming Dates
birthdays, anniversaries, holidays, and other significant events or dates you want to remember, such as weddings, parties, school breaks, vacations, work trips, etc
Take some time to set your Next 12 Week’s Goals
Determine what key core life area you want to focus on and set your goals and tasks around this area. This helps you to stay focused on what matters most right now. – Download this quick personal assessment if you need help in determining what that is for you currently. I like to do this assessment every 12 weeks)
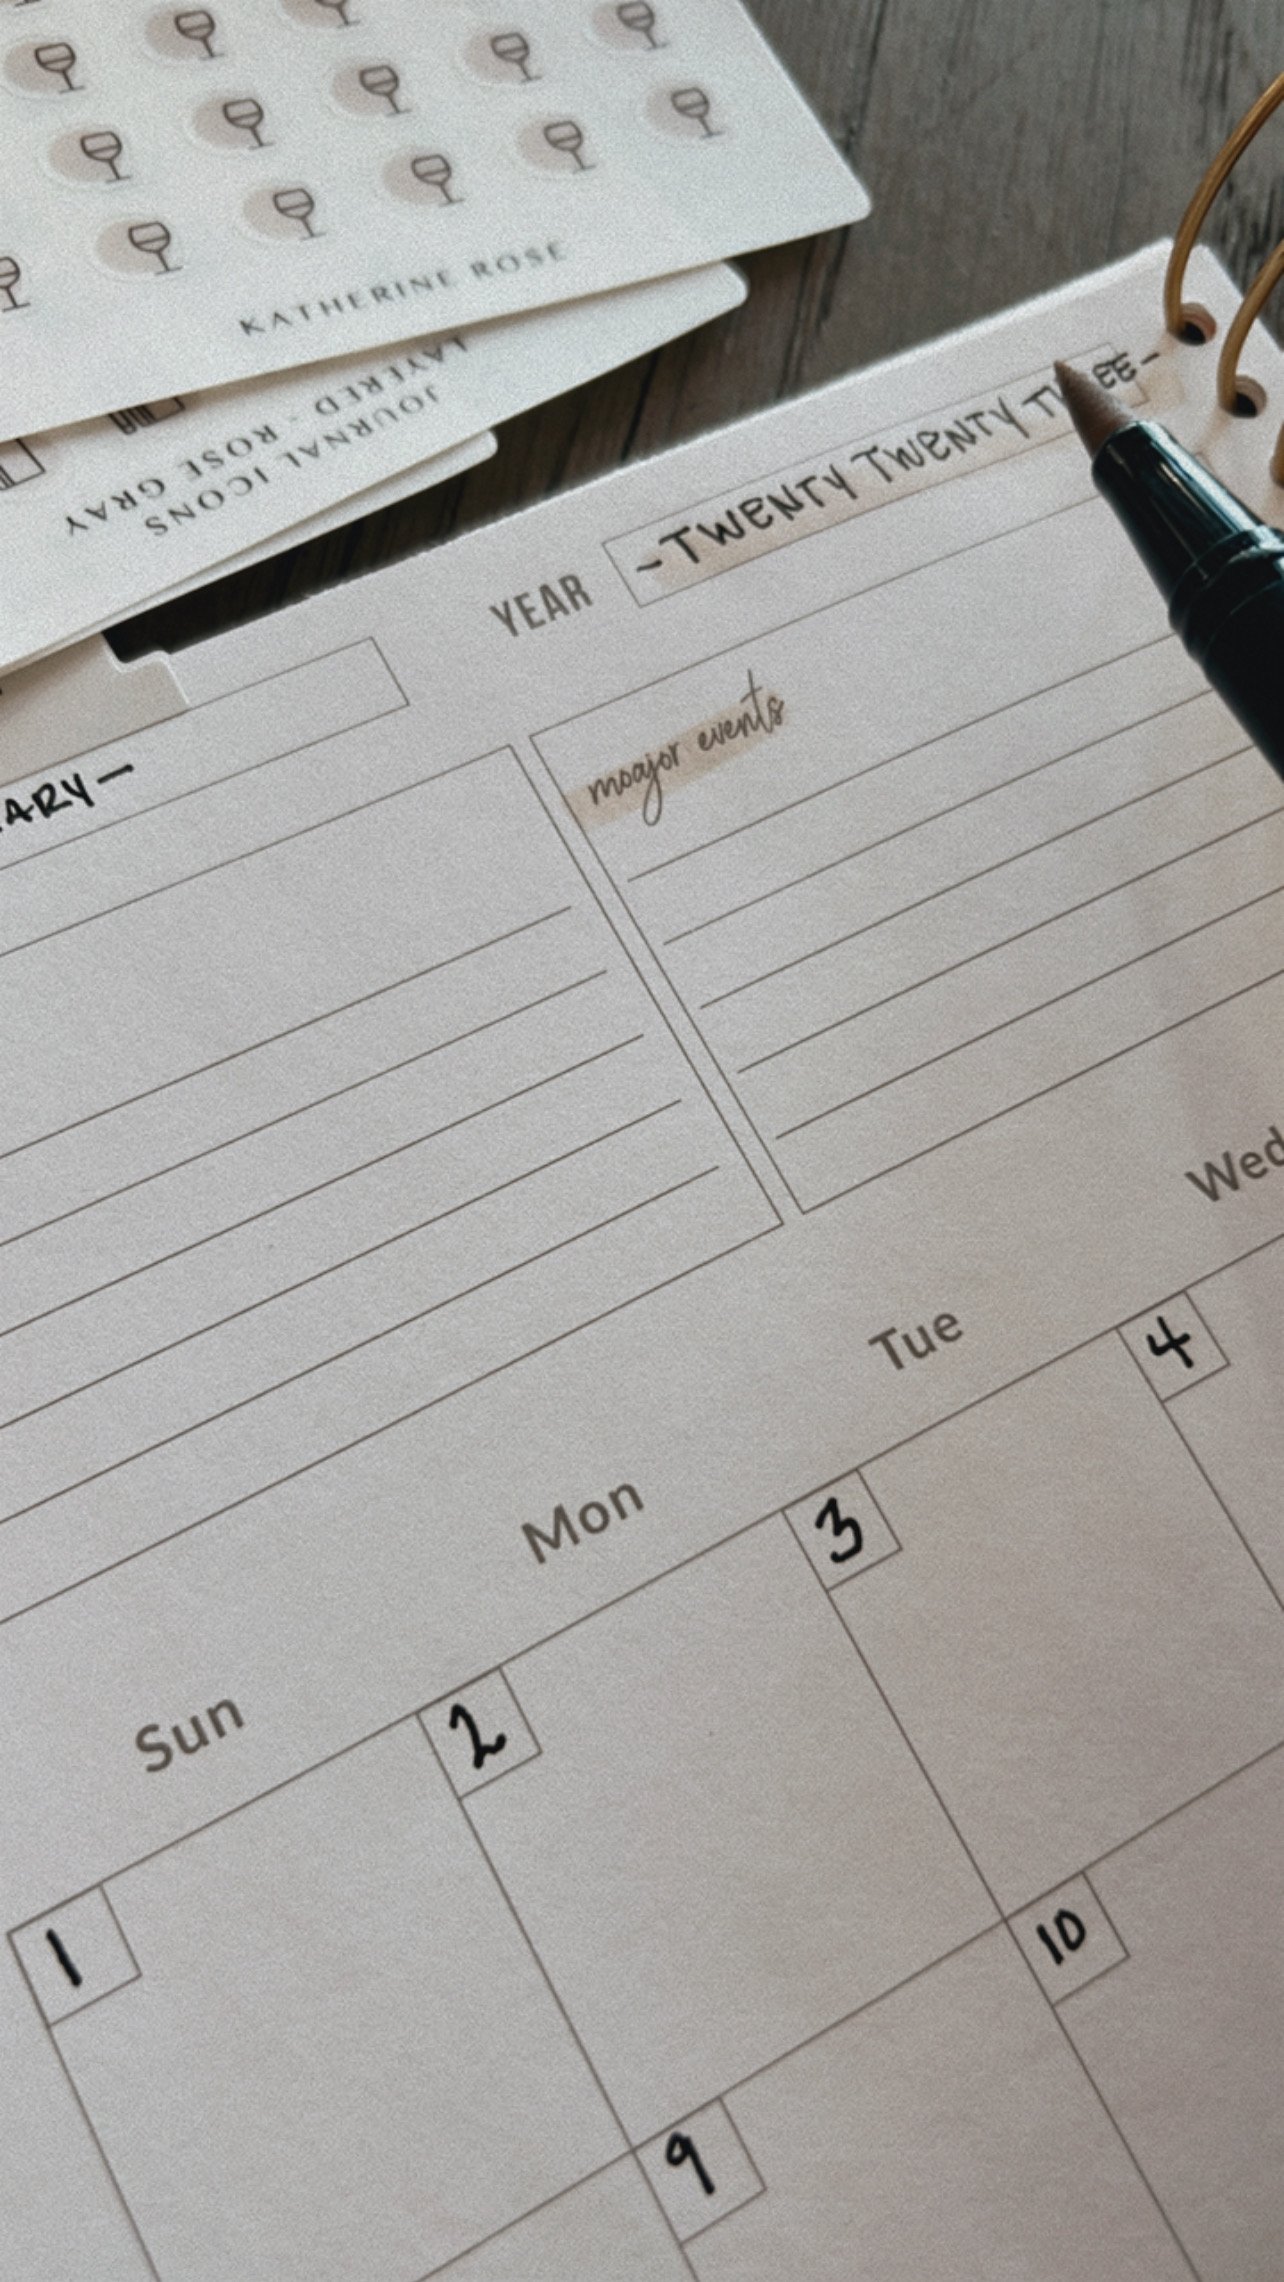
Here’s the start of my 2023 Plan to GRO Journal. It’s the skeletal structure for my next 12 weeks. My additions to this journal are using simple monochromatic colors, stickers and markers to add a little highlight to the design. Pick and choose ideas you may want to consider as you set your journal for your next 12 weeks.
If you are like me and sometimes aesthetics will slow you down, then be sure to stick to the basics. I have learned that with anything new you want to incorporate into your life – always start with function. Create a habit of it, then level up the creativity and beauty of it. I am only now getting to where I feel comfortable sharing my journal spreads because I like how they look and their functionality. I’ve been journaling for over five years and almost exclusively focused on function. Don’t allow aesthetics to distract you from your goal of using a journal planner.
Where are you now? If you need to focus primarily on functional planning, start by incorporating a minimalist approach. Don’t overwhelm yourself by starting with too many things to do by worrying about stickers, markers, calligraphy, etc. If creativity is not the current goal, stick with a preset journal with prompts, calendars, and a built-in system to work through daily, weekly and monthly. This will generate momentum in forming your daily habit.
I am excited for you! Be sure to share images of your journal planner spreads below in the comments! I can’t wait to see them!
